Showing posts with label sewing. Show all posts

Friday, July 9, 2010

a knit polka dot dress

My mom flew down to Dallas in December to be with me during the birth of my son. We had an amazing time together and got to do a little shopping before I went into labor. We made our way over to Half Price Books and had a lovely time exploring shelf after shelf of books. We happened to come across this book. We decided to buy it (one for me, one for my mom). I went into labor a few hours later and never really got to do a whole lot with the book. Until now. You see, in fashion school I learned all about woven materials, but hardly learned a thing about how to make knits fit, so this book was really exciting for me. I decided to make one of the dresses a while ago, but never really got down to it. So when my friend Meghan came over for crafty Monday, I decided it was time. In the book, Wendy tells you how to make alterations to the pattern, so I made the basic alterations to the bodice and skirt, but I just didn't like the sleeve that was intended to go with the dress. So I took the other sleeve pattern that came with the book and spliced them together.


Next, I arranged all the pattern pieces and laid out my fabric to decide how I wanted to cut it.
I also added pockets to the skirt pattern piece because I think every dress should have pockets!


To sew the dress, I began by pinning the right sides of the bodice front and back together at the shoulders. I did this to the self fabric (the main fabric) and also the lining. Then I used my serger to sew them together.
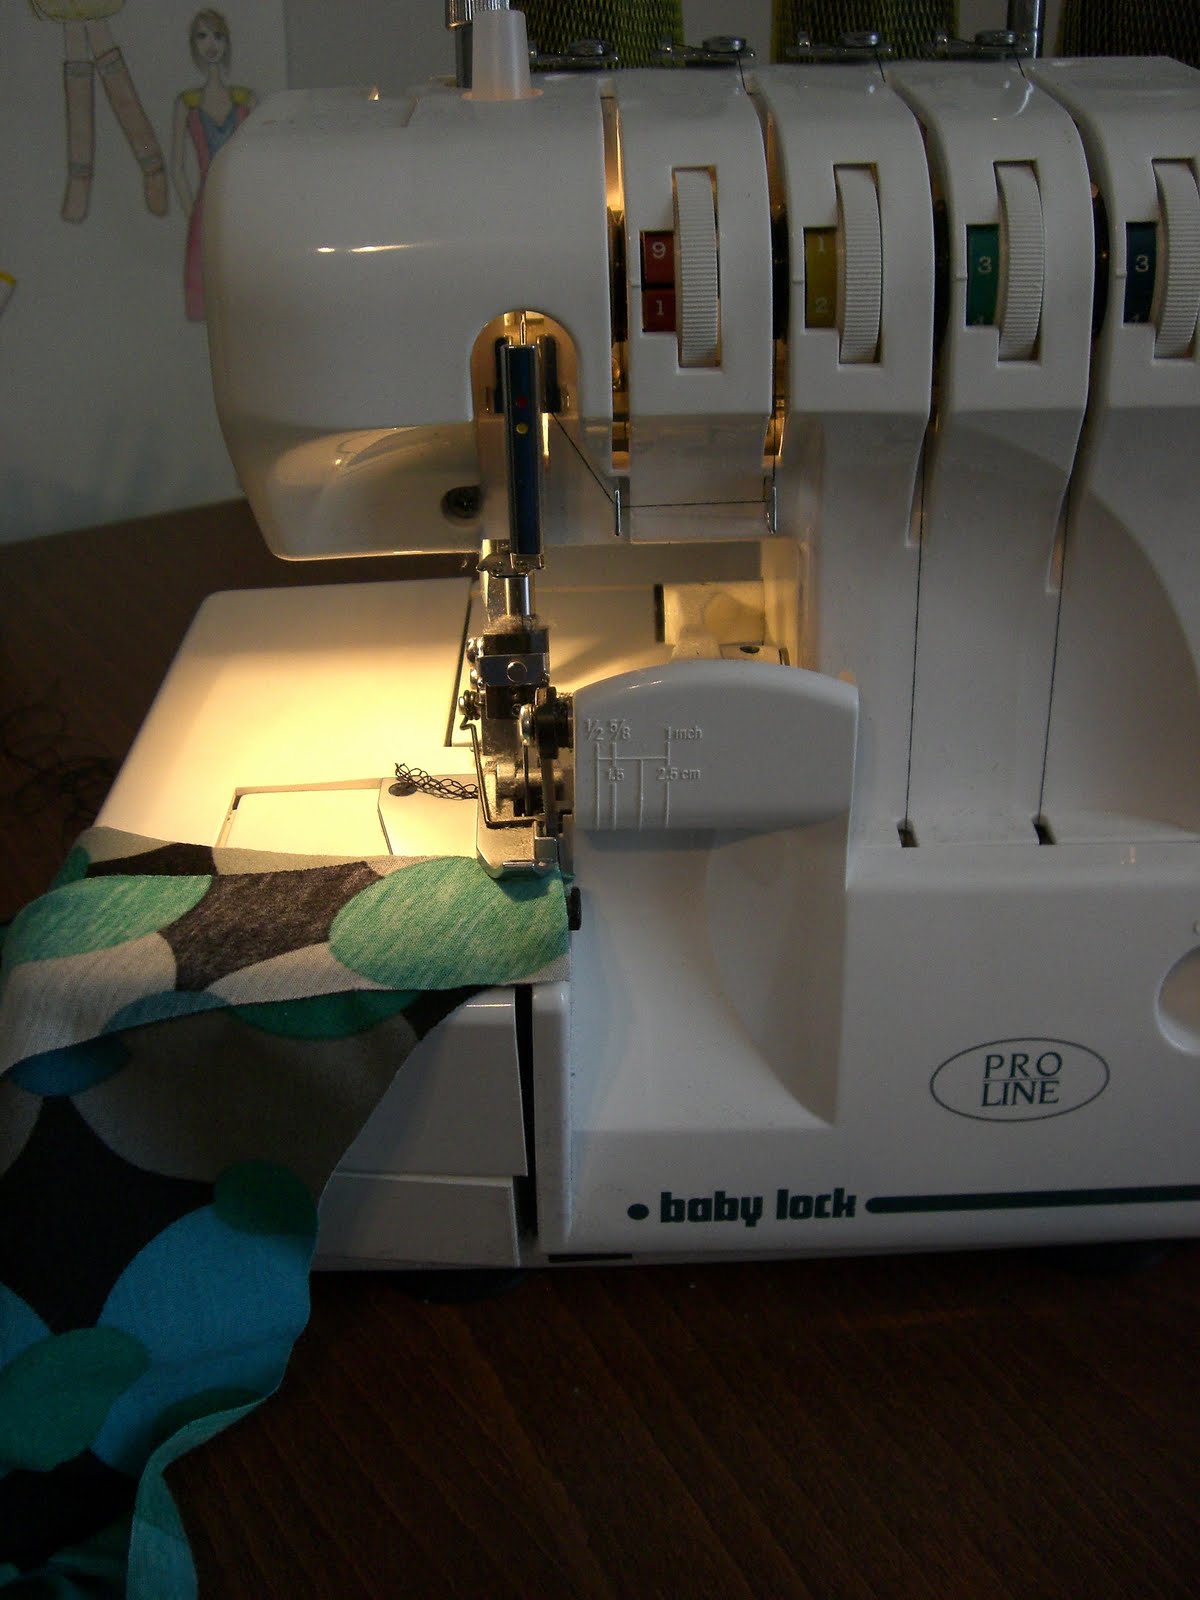
Then I put the lining and self right sides together and stitched the neckline. I should have added elastic here, not for stretch, but to help hold the shape. (I'm still learning.)

I decided to understitch to keep the lining toward the inside of the dress.

Then I took each sleeve and ran a basting stitch from one notch to the other. I slightly gathered the fabric and then pinned the sleeve to the bodice, right sides together.


With the sleeves in place, I gathered the front and back skirt and then pinned them to the front and back bodice, right sides together. I sewed up the sides with my serger so it looked like this:

Finally, I sewed up the side seams, from the hem of the skirt, to the hem of the sleeve.
With the right sides still together, I stitched 1.5 inches from the top of the pocket toward the hem, and about 3-4 inches from the bottom of the pocket toward the bodice.

Although the dress is nearly finished...I have decided to wait to hem it with my coverstitch machine. I tried on the dress and I don't love the way it fits, so now it's time for alteration fun. I'll let you know how it goes!

Monday, June 21, 2010

a scarf from china

My mother-in-law came to town in May and I finally had her Christmas present ready... For Christmas, since she knows we're on a tight budget, she asked me to make her something...Well, I was huge and pregnant and tired and feeling lazy, so she got a rain-check for Christmas. Actually, she got her first grandson, which is a pretty fantastic gift, but I still wanted to make something for her. I had this great fabric that I got from China:


Our friend was teaching in China and brought it back for me about two years ago. Whoops! I meant to use it, I did! It is absolutely gorgeous and is sort of a silk burnout. My mother-in-law LOVES scarves, so I decided to test out my roll-hemmer and keep it simple with a little scarf. I called my father-in-law to ask him what the rest of her scarves measure, and got to work.

First, I ironed the fabric because it's been folded up for a while. I used a silk organza press cloth which allows you to see the fabric underneath, but prevents heat marks and protects the fabric.


Next, I used my rotary cutter and quilting ruler to cut it. Her scarves are usually 40-45" by 10", so I left the selvage on for the moment to prevent fraying, and just cut 11" wide, from selvage to selvage.


I pulled out my roll-hemmer foot. I LOVE it! It has that nice little curly section and it curls the fabric around for you so you don't have to fumble around and hope that you can make that tiny little hem.


It snaps right on to my tool of the trade, a Kenmore #16231. I got it for Christmas. I have a 1970s Kenmore sewing machine that's built into the table...but I wanted something a little more portable. I love it. It has speed control (you can put it on turtle, rabbit, or somewhere in between), one-step needle threading, and a million other features that make it pretty idiot-proof. Not that I'm an idiot, but sometimes machines freak me out and I'm worried that I will break them by doing something stupid. I'm not too worried with this one.

I decided to use a size #11 (70) needle because it's better to use on finer fabrics.


I then took one long edge of the fabric and rolled the very beginning. I place the needle down, and then put down the presser foot.

Then all I had to do was hold the fabric slightly rolled to keep the tension and let the presser foot do the rest!


It was that easy! I did not back stitch at the end. I just tied off the ends; otherwise the fabric would've gotten caught in the machine because it's so fine and there's nothing to hold. After finishing the two long ends, I trimmed off the selvage on both sides and rolled them as well.

Here is my mother-in-law, thrilled with her new scarf. Doesn't it just make her eye-color pop?


Hope you like it! More to come :)